Why an Event Signage Checklist is Essential
When bump-in starts, things move fast.
There’s no time to realise:
- A banner is missing
- Artwork is incorrect
- Fixings haven’t been organised
- Or signage simply doesn’t fit the space
A clear checklist ensures your event branding is:
- On time
- On brand
- Ready to install without stress
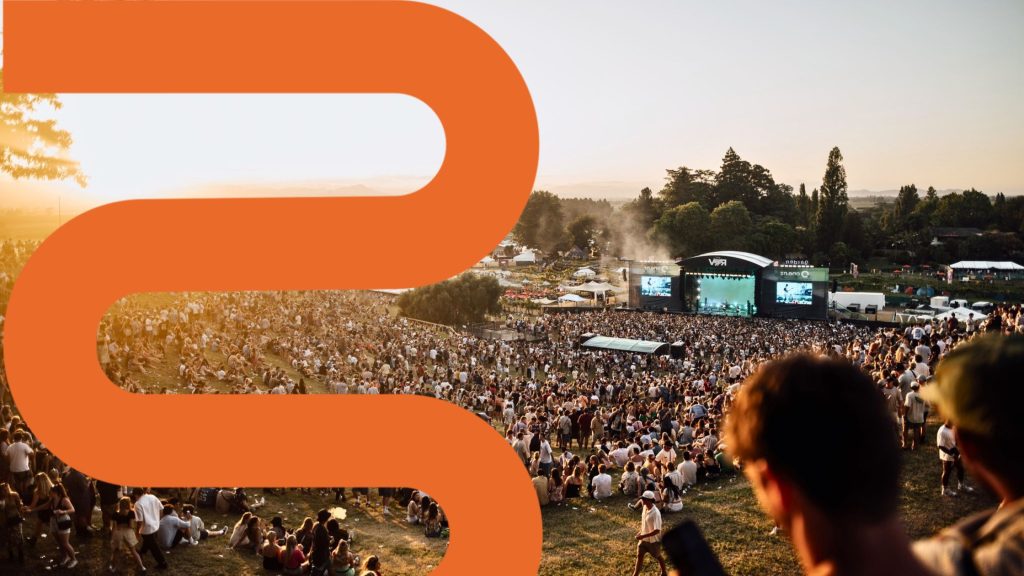
Whether you’re managing a corporate event, festival, or activation, preparation is everything.
The Ultimate Event Signage Checklist
1. Define Your Signage Plan Early
Before anything goes to print, map out:
- Entry and exit points
- High-traffic areas
- Stage or focal zones
- Sponsor placements
- Wayfinding requirements
Why it matters:
Good signage isn’t random, it’s strategically placed to guide, inform, and promote.
2. Lock in Your Signage Types
Make sure you’ve covered all the essentials:
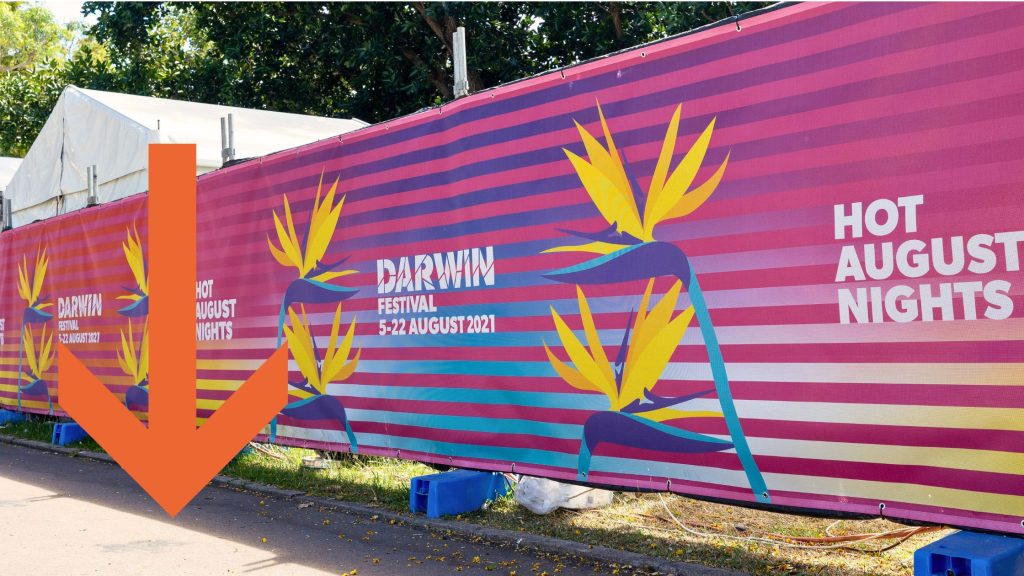
- Banner Mesh – fencing, barriers, perimeter branding
- Crowd Control Barrier Covers (CCBs) – front of the stage, queues, VIP areas
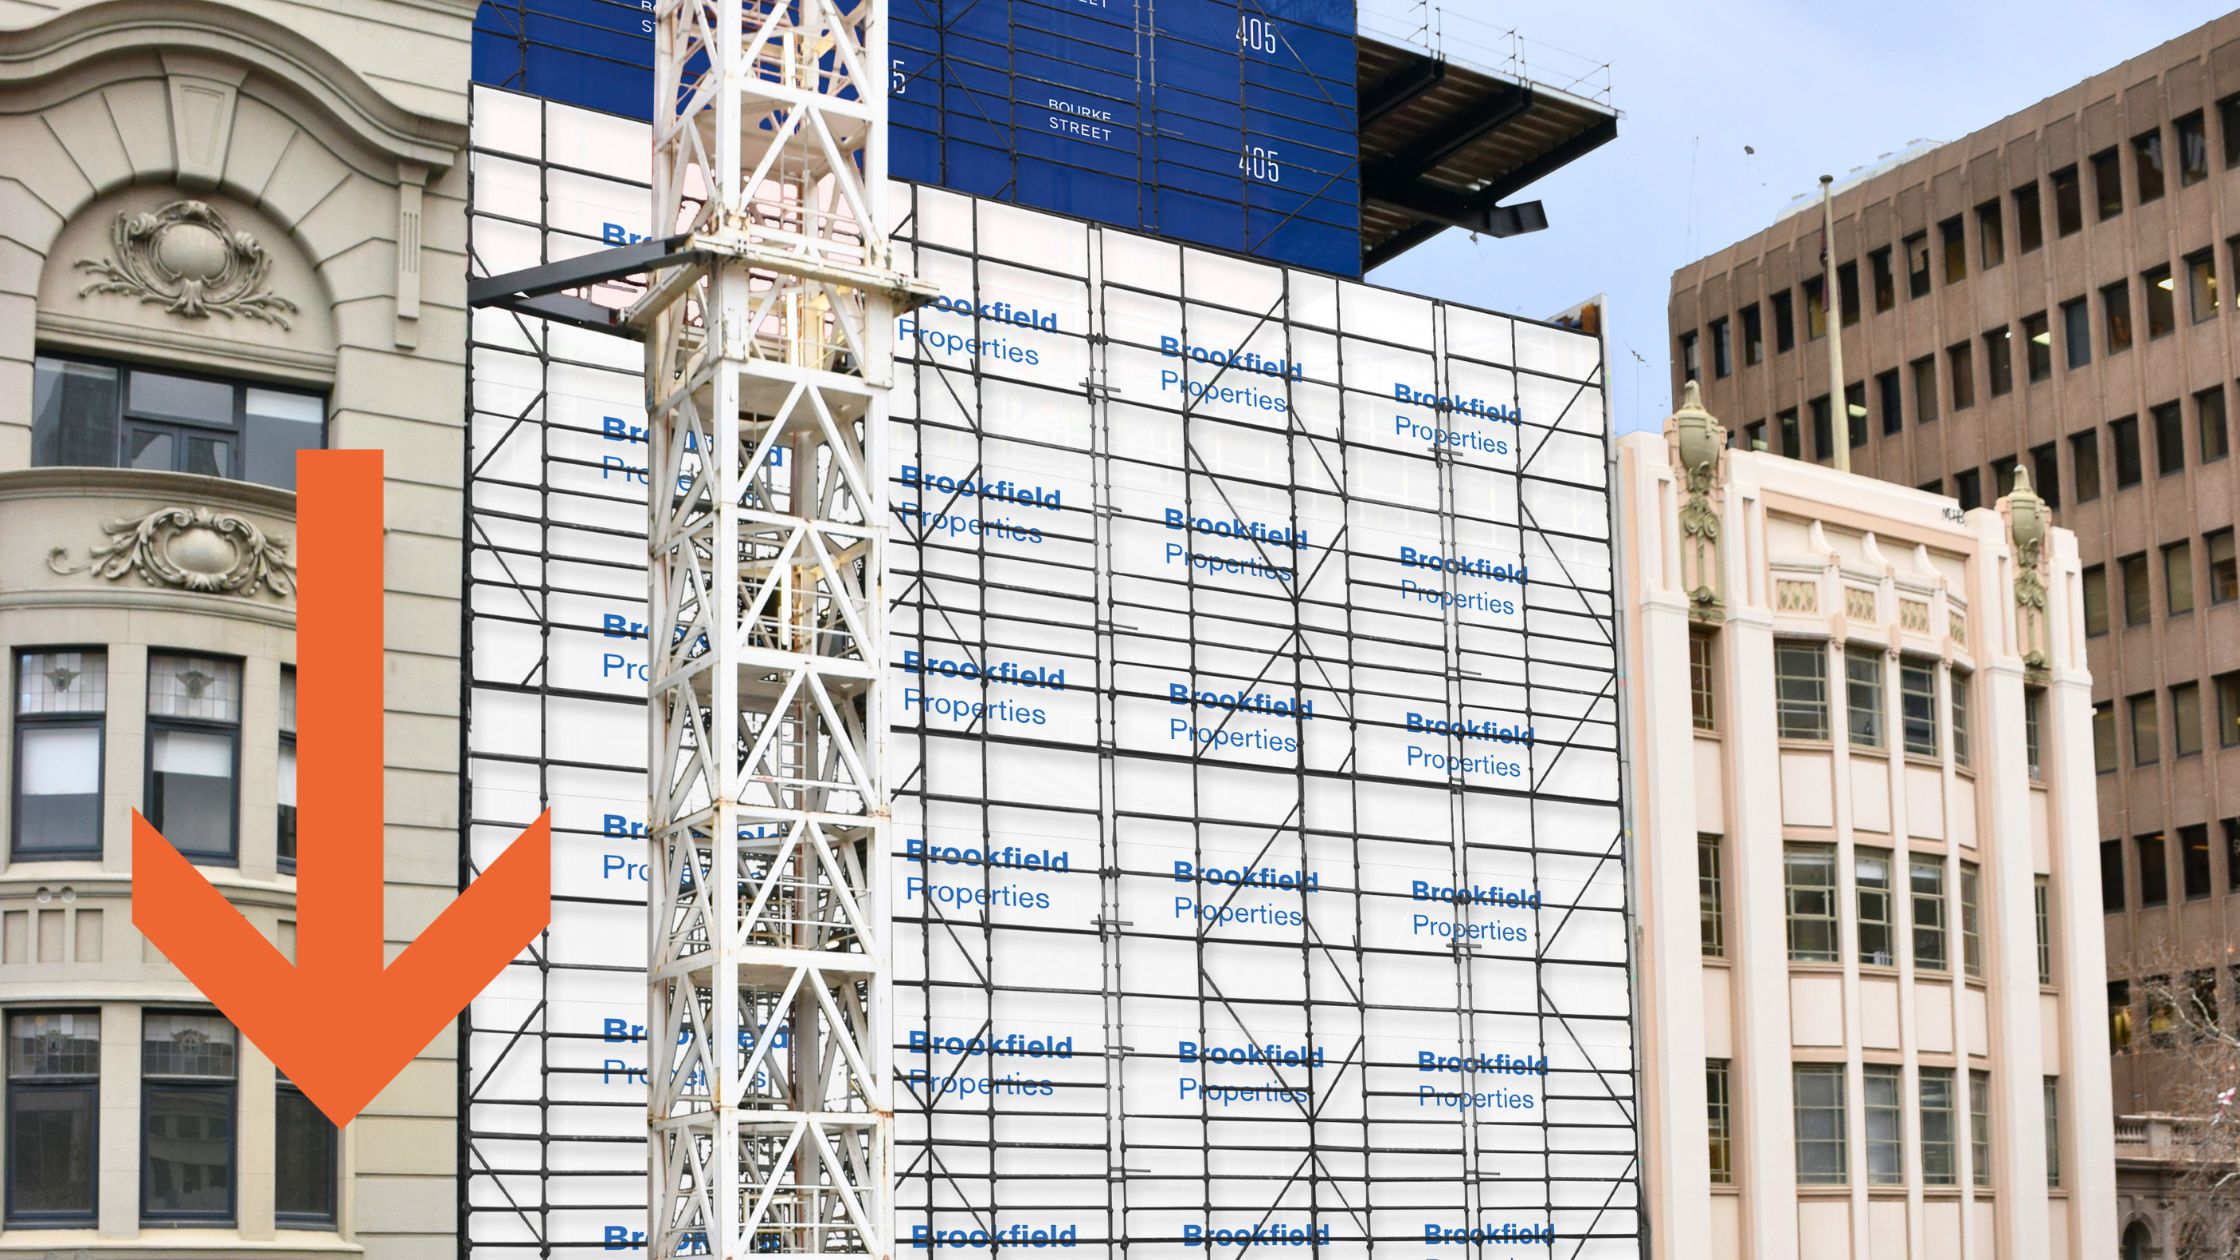
- Media Walls – sponsor exposure, photo moments
- Flags – visibility from a distance
- Corflute Signs – directional and informational signage
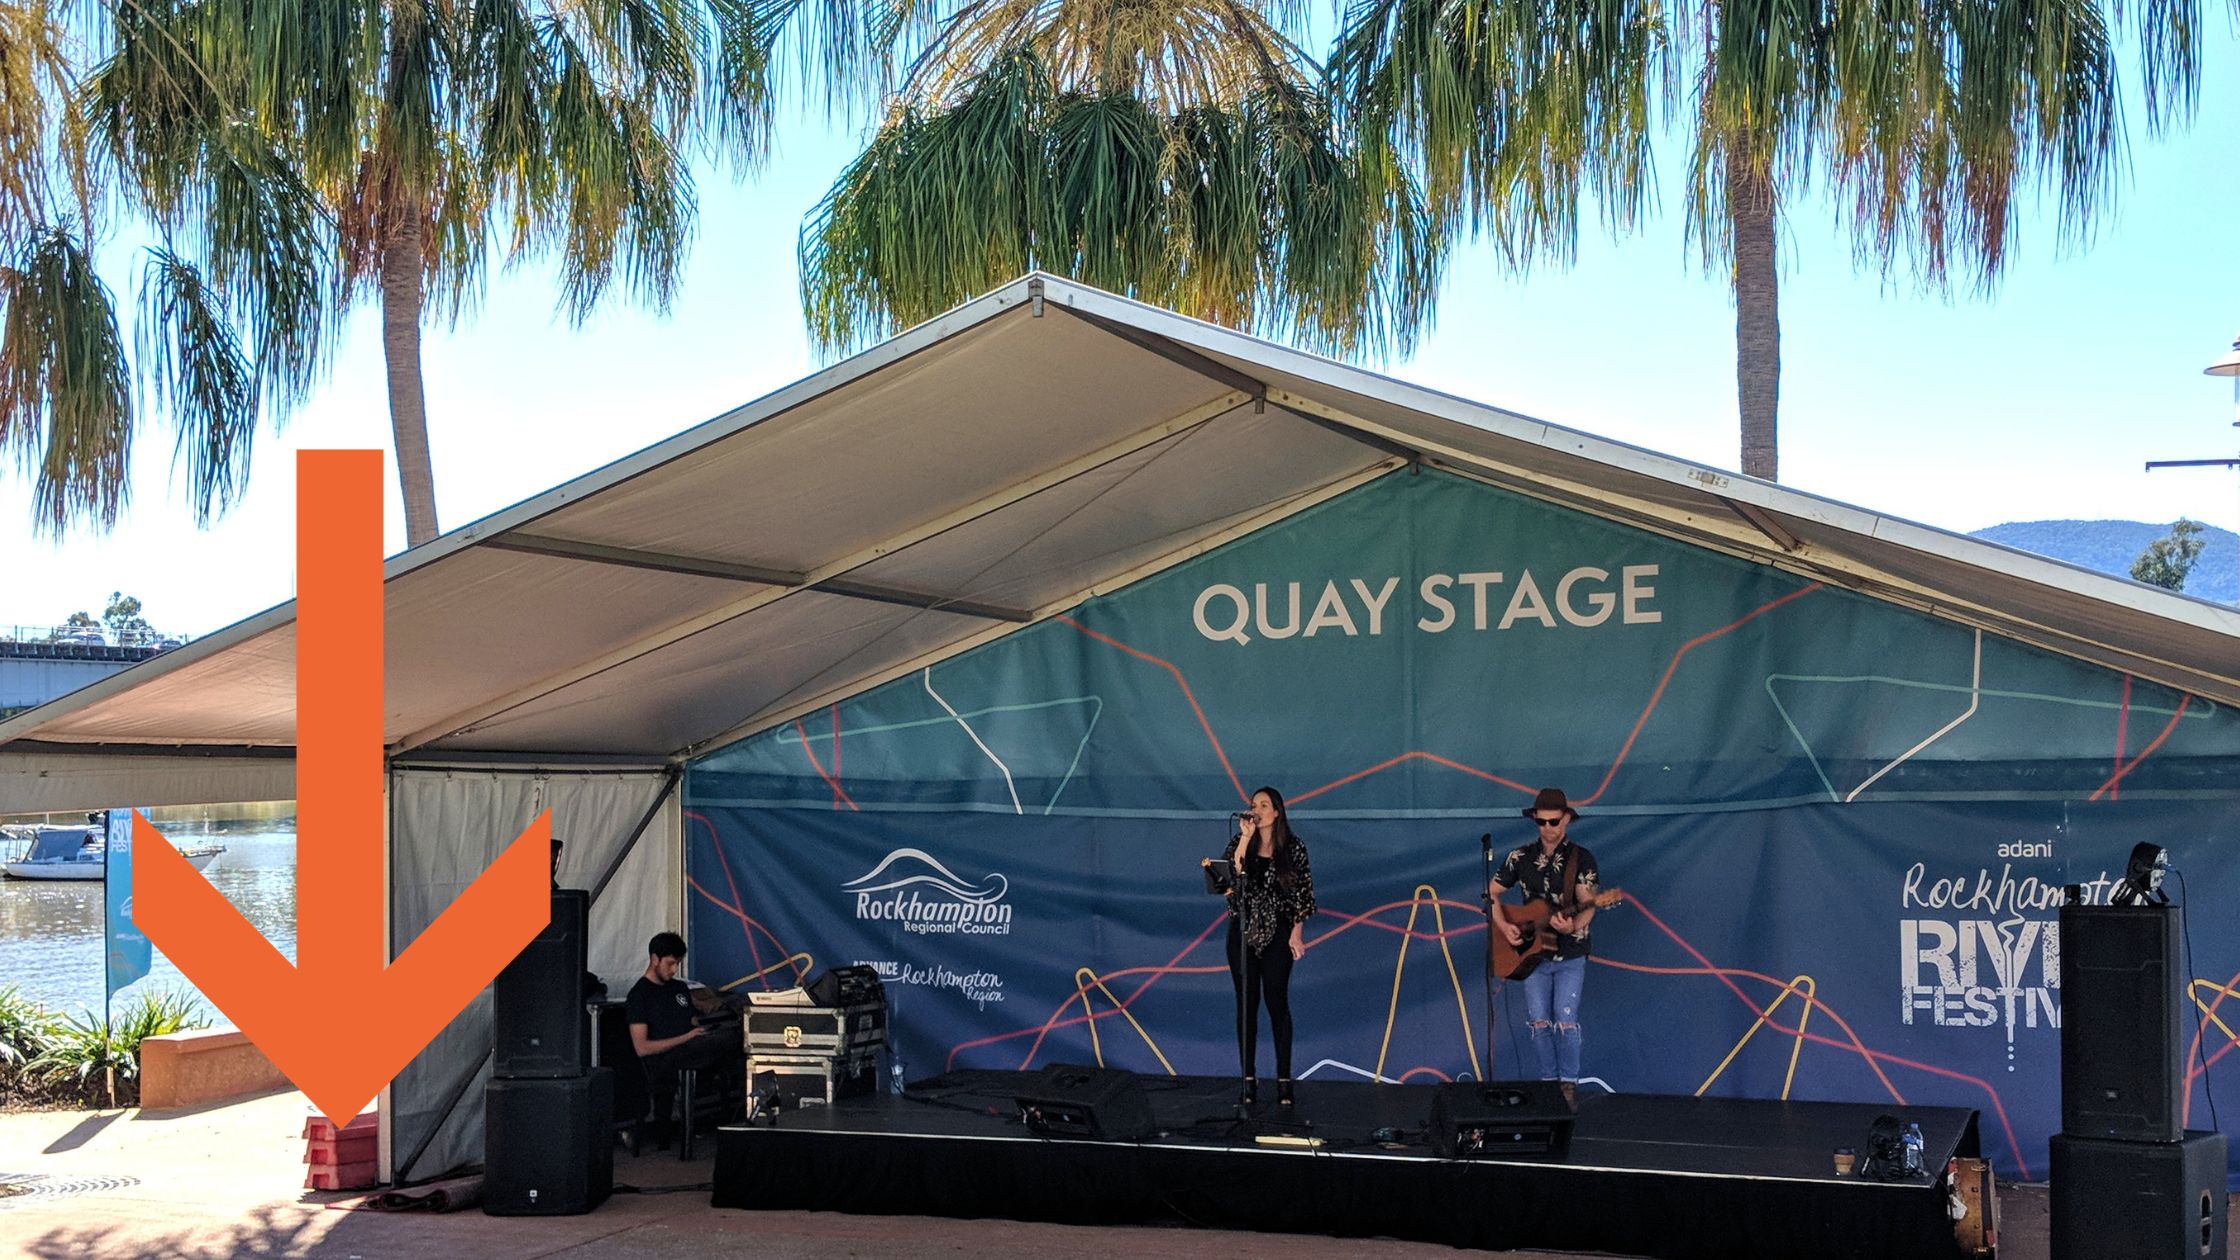
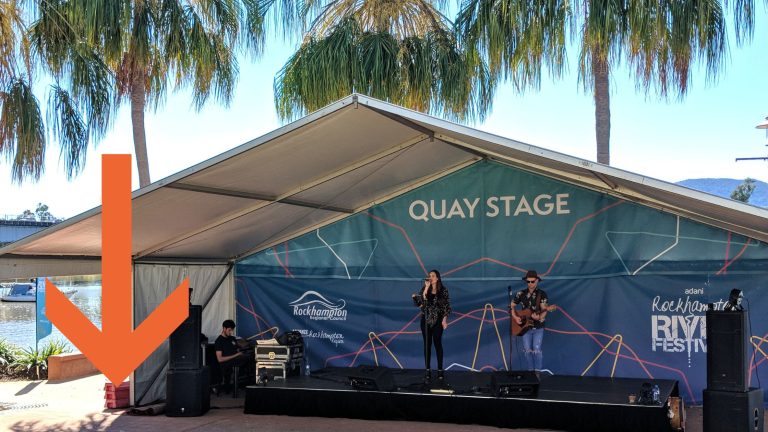
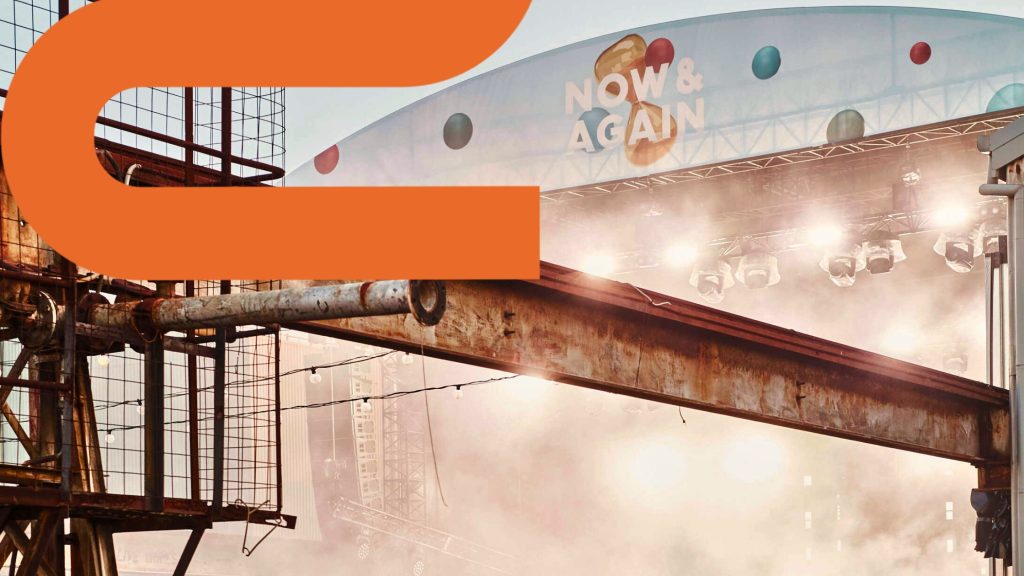
- Stage Backdrops – central branding moment
Pro Tip From Peter Andrews:
Think beyond branding, signage should also guide people through the space.
3. Confirm Artwork is Print-Ready
Before production, double-check:
- Correct dimensions and scale
- High-resolution files (no pixelation)
- Brand colours are accurate
- Bleed and safe zones are included
- Logos are sharp and correctly placed
Why it matters:
What looks good on screen doesn’t always translate to large-format print.
4. Choose the Right Materials for the Environment
Not all signage materials are created equal.
Consider:
- Outdoor events: Banner mesh for wind flow
- Indoor events: Vinyl or fabric for a premium finish
- High-wind areas: Open weave mesh
- Short-term activations: Lightweight, cost-effective options
Top Tip From Stephen Henry:
Using the wrong material can lead to tearing, sagging, or unsafe installations.
5. Don’t Forget Fixings & Installation Tools
This is where many events get caught out.
Make sure you have:
- Cable ties or bungee cords
- Clips or hooks
- Ladders or access equipment
- Extra fixings (always bring more than you need)
Why it matters:
Even the best signage is useless if you can’t install it quickly and securely.
6. Schedule Delivery with Time to Spare
Timing is everything.
Plan for:
- Delivery at least a few days before bump-in
- Buffer time for reprints (if needed)
- Clear delivery instructions for couriers
Pro Tip From Kim HIder:
Never rely on signage arriving the same day as install.
7. Do a Final Signage Check Before Bump-In
Before you hit site, confirm:
- All items are accounted for
- Quantities are correct
- No damage occurred in transit
- Each piece is labelled or easy to identify
Why it matters:
Fixing issues before bump-in is easy. Fixing them during bump in is not.
Quick Answer: What Signage Do You Need Before Event Bump-In?
Before bump-in, you need a complete signage plan, correct materials for your environment, print-ready artwork, all required signage types (mesh, CCBs, media walls, flags, corflute), installation fixings, and confirmed delivery with time for checks.
FAQs
What is bump-in for events?
Bump-in is the scheduled time when event teams access the venue to install infrastructure, staging, and signage before the event begins.
How early should signage be ready?
Ideally, signage should be delivered at least 2–5 days before bump-in to allow time for checks and contingencies.
What’s the most common signage mistake?
Leaving artwork or production too late — which leads to rushed prints, errors, or missing items.
Can signage be reused for multiple events?
Yes. High-quality signage can be reused if:
- It’s stored correctly
- It’s designed without date-specific messaging
- It remains in good condition
Make Bump-In the Easy Part
At Mesh Direct, we help event teams stay ahead of the chaos.From planning and design to print and delivery, we make sure your signage is ready when it matters most.