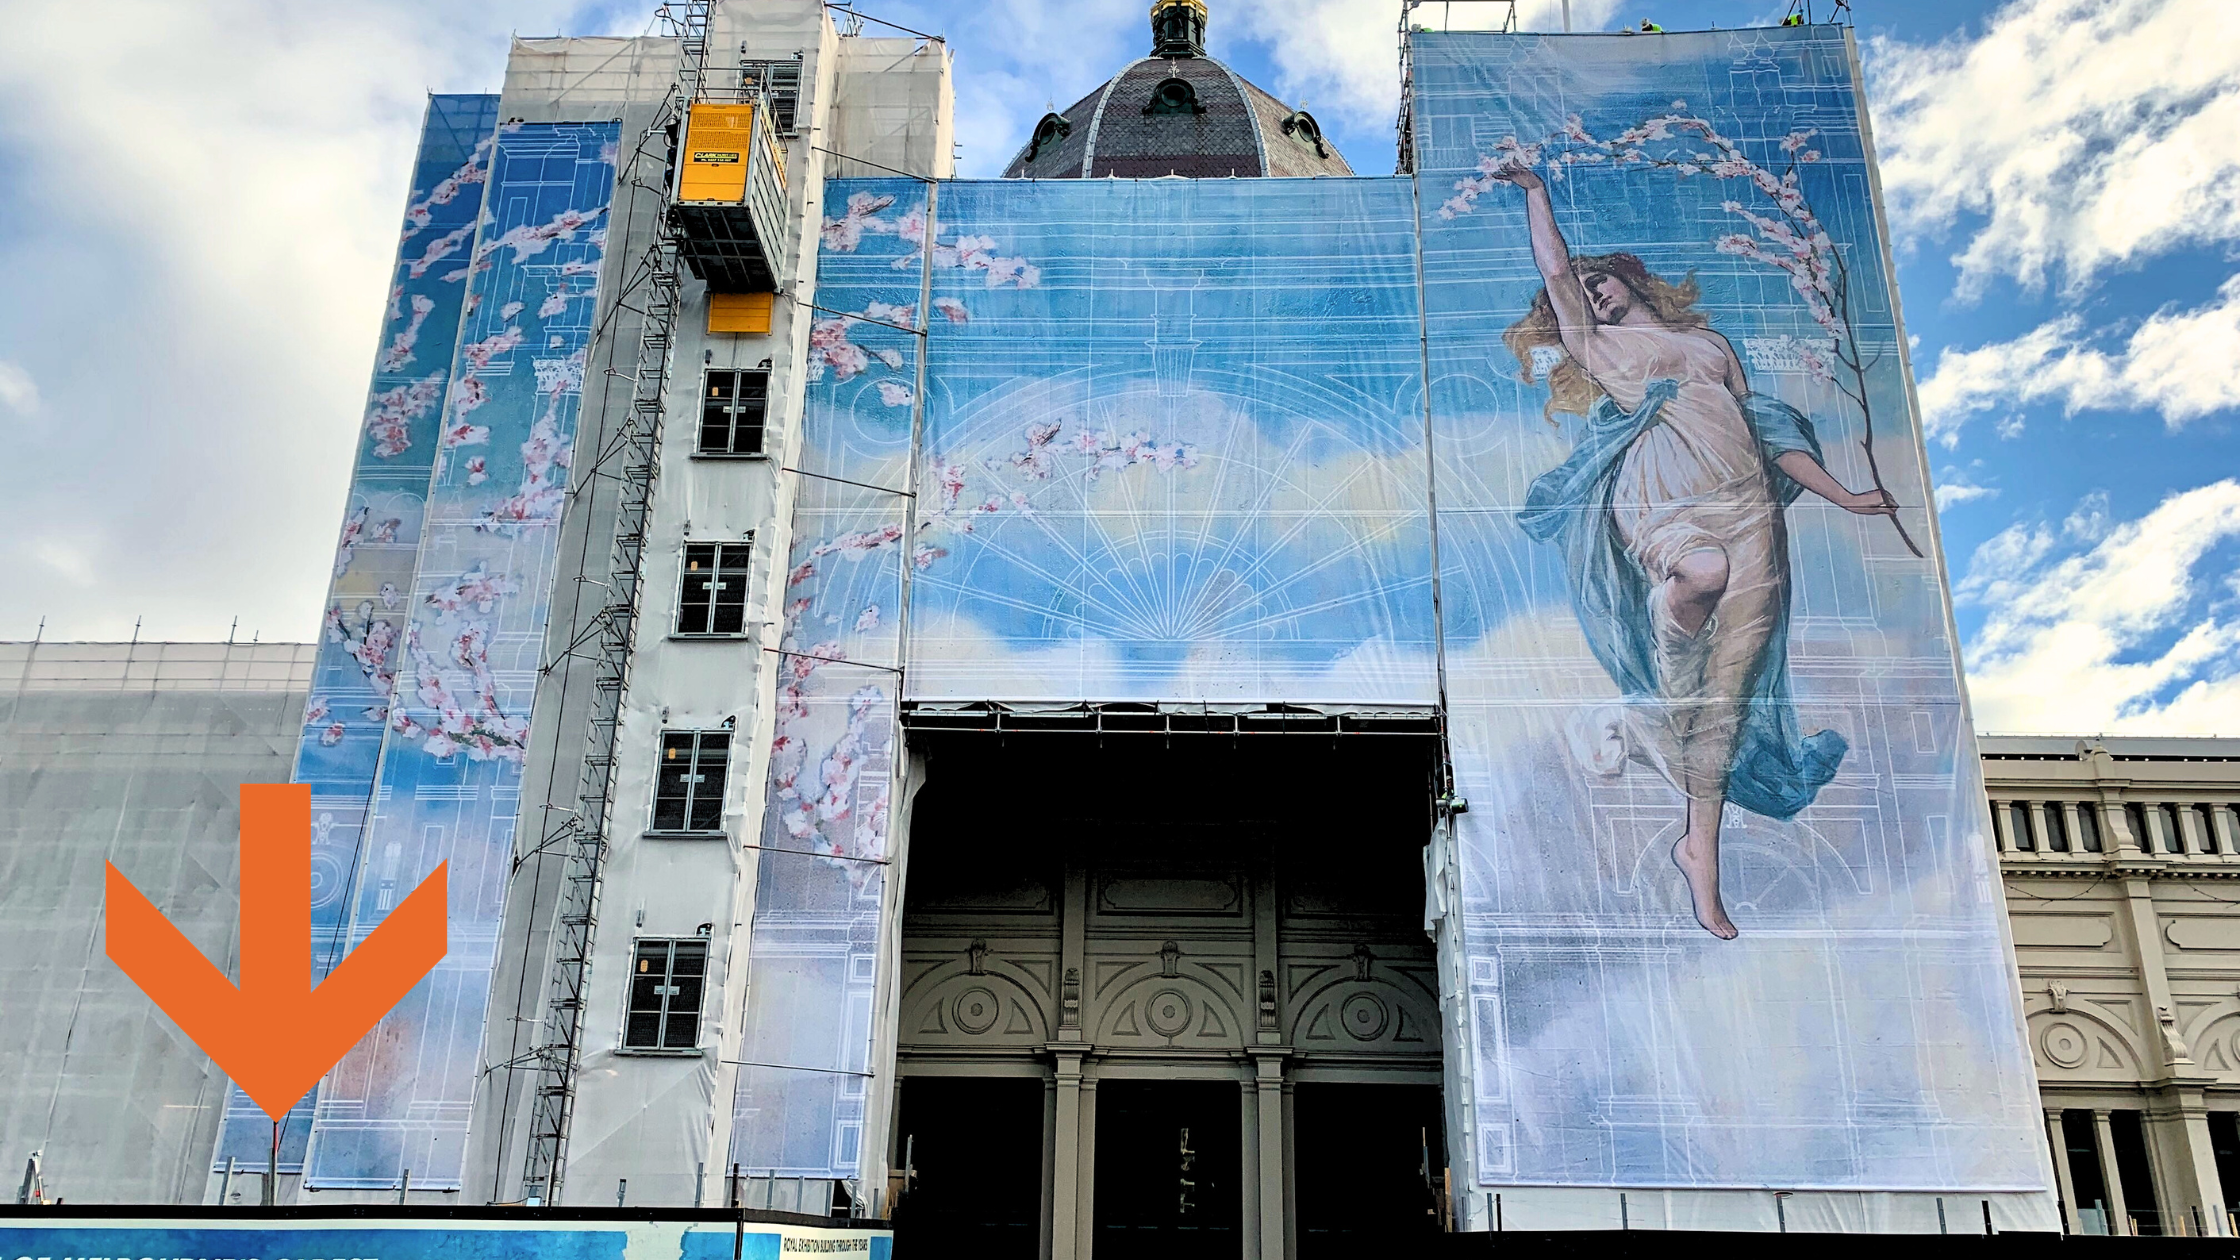
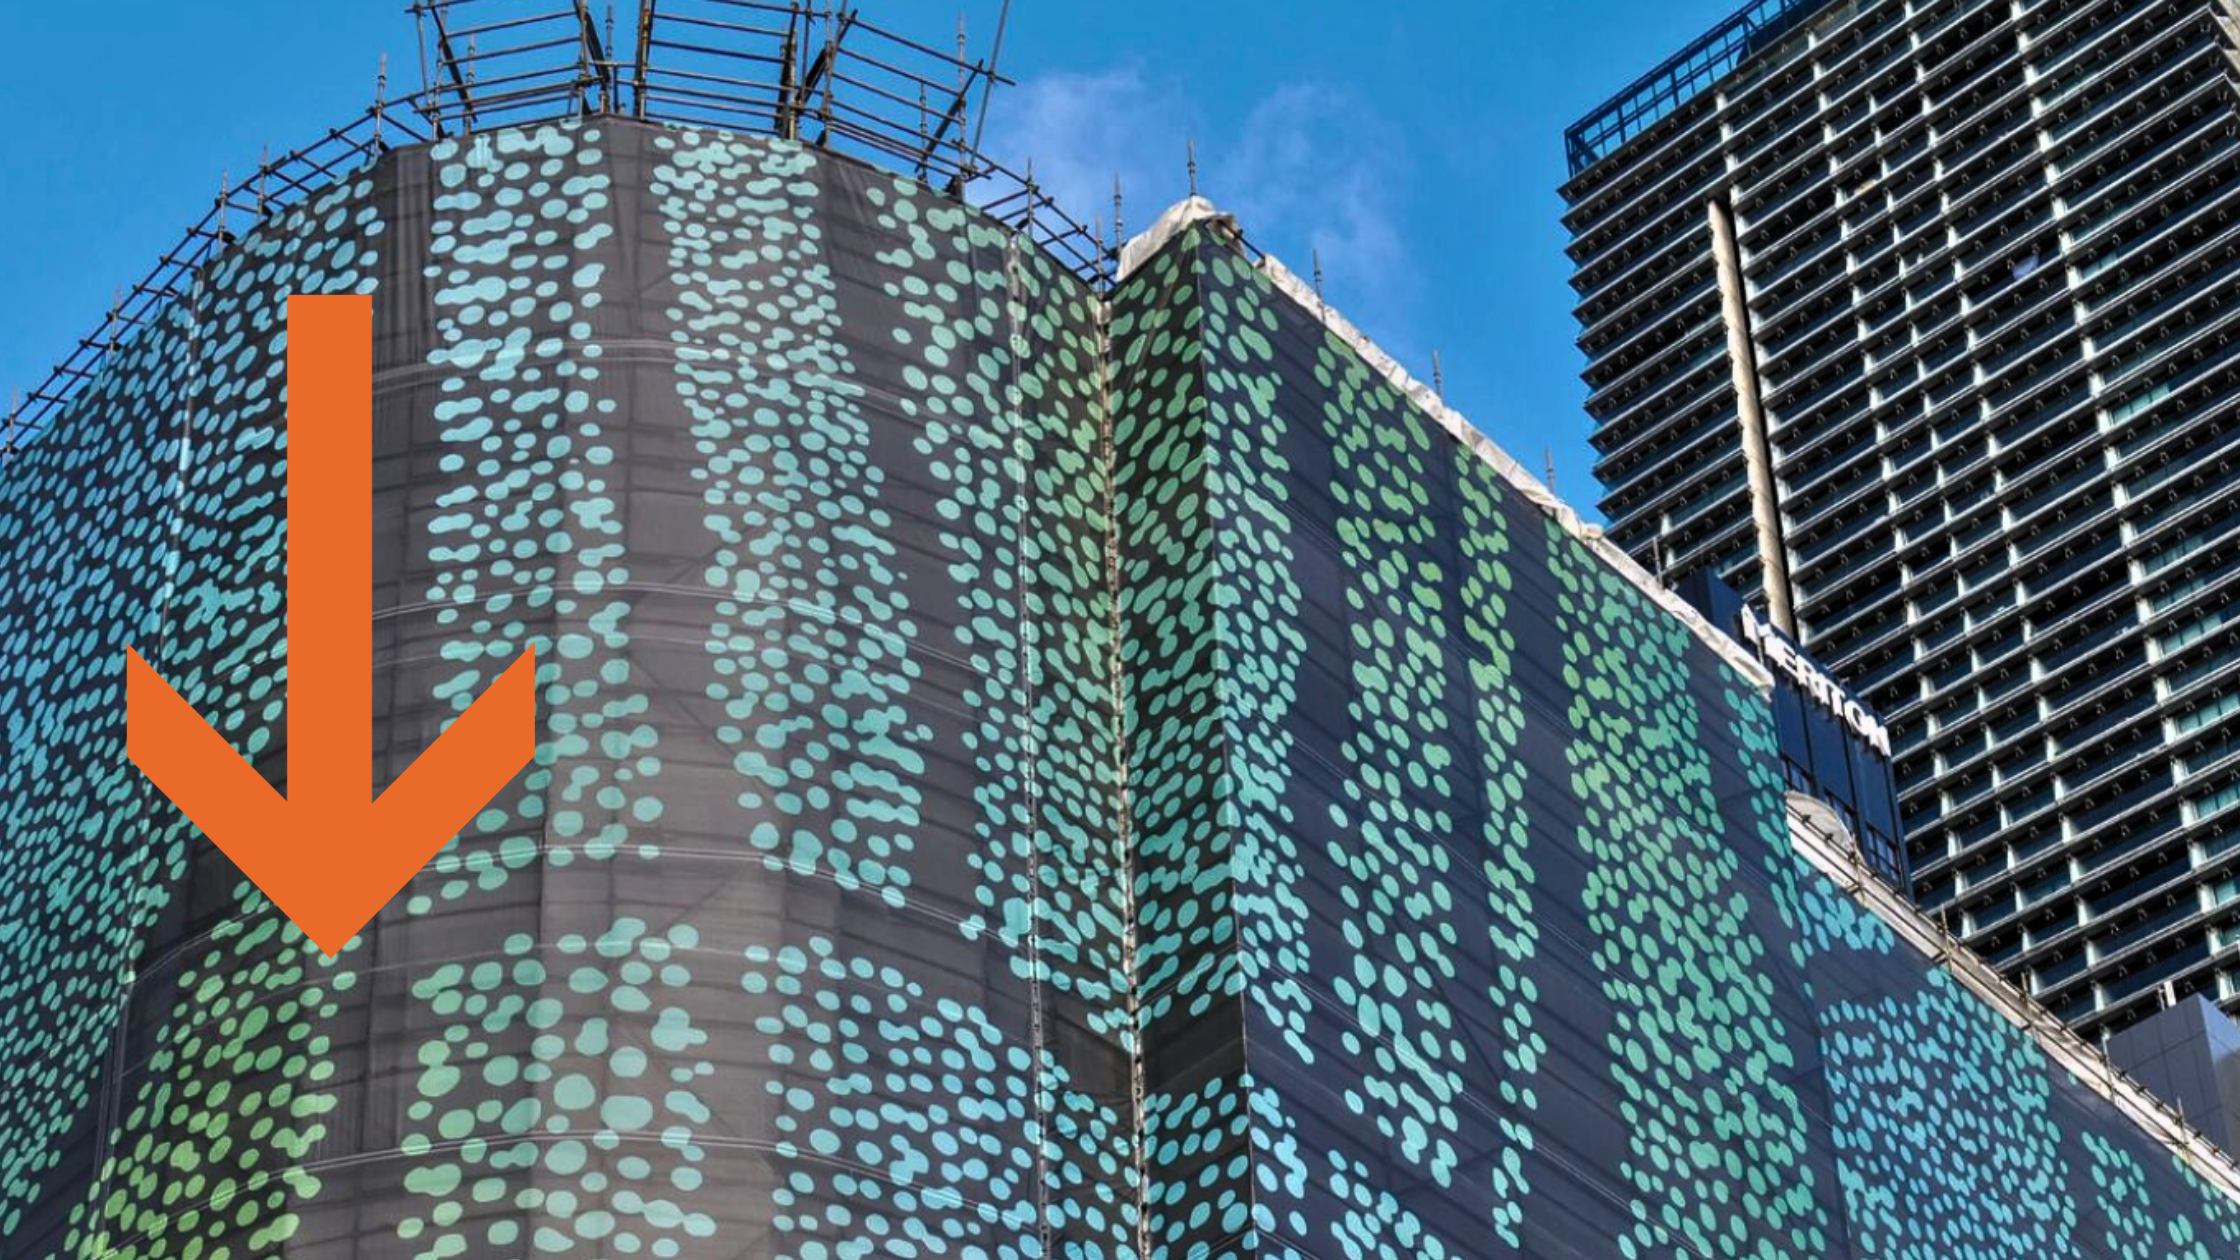
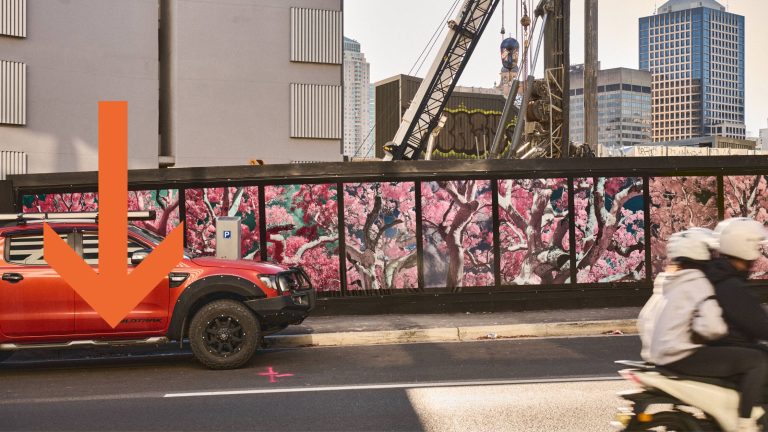
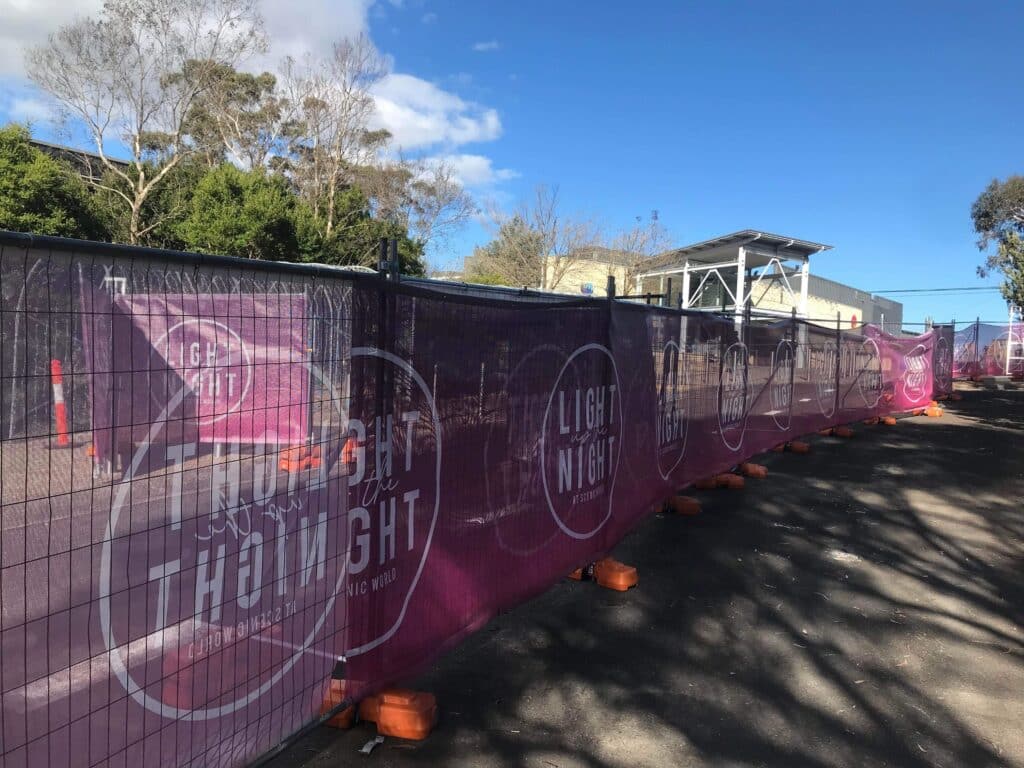
Fence wraps are an excellent way to advertise your business, create a barrier for construction sites, or even help spectators find their way at an event. With thousands of installations over the years, at Mesh Direct we know fence wraps like the back of our hand. We understand that installing it yourself can seem like a daunting task, but with the right tools and knowledge, it can certainly be done. In this blog, we’ll take you through a step-by-step guide on how to install fence wrap yourself.
Or if that sounds a little too complicated, you can skip this article and contact us to handle your installation for you.
Step 1: Measure your fence
First things first, the correct measurements are key. Before you begin installing your fence wrap, it’s crucial to measure your fence’s length and height accurately. Use a tape measure to measure the length and height of each fence section and make a note of these measurements.
Even if you choose to skip the DIY installation you’ll need these measurements to order your materials.
Step 2: Choose the right material
Fencing wraps come in several different substrates including Premium Banner Mesh, Wind Mesh, Nature Screensor Eco Banner Mesh, for the environmentally conscious project and more. Your choice here will depend on the site and specific requirements of your project. For example, if your location is in a high wind area you might choose Wind Mesh as your most suitable option.
Not sure which material you need? No stress, our team are on hand to advise you on the best fit for your project. Simply give us a call or drop us a message and we’ll run through the details with you.
Step 3: Install the fence wrap
So you’ve got your perfect fence wrap material, now let’s get into the installation. We recommend the following steps to ensure a smooth installation:
- Start by laying the fence wrap flat on the ground and cutting it to the correct length.
- Attach the fence wrap to the fence’s top with zip ties, making sure it’s level.
- Smooth out the fence wrap and ensure there are no bubbles or wrinkles (depending on your material).
- Secure the fence wrap to the fence with zip ties or fence clips every few cm.
- If your fence has posts or gates, cut the fence wrap around them, ensuring you leave enough excess material to cover the posts or gates.
- Once you have installed the fence wrap, add grommets to the edges of the wrap for added stability and durability.

Step 4: Add finishing touches
Once you have installed the fence wrap, add finishing touches like additional wind slits or cable ties to ensure it lasts longer and looks top-quality.
So there you have it, simple as pie. Or at least we hope you think so too! Mesh Direct provides an end-to-end service which includes installation, so if you’re feeling stuck with your installation we’ve got you covered. Get in touch today for a quote by clicking here.