Designing a banner for your company before placing an order is an extremely important first step, but once it arrives how do you go about setting it up correctly? That is exactly the question we plan on answering in this article. It’s always imperative to display your banner in the most effective way possible so that you get the best chance of brand exposure and getting your banner looking the best it can be.
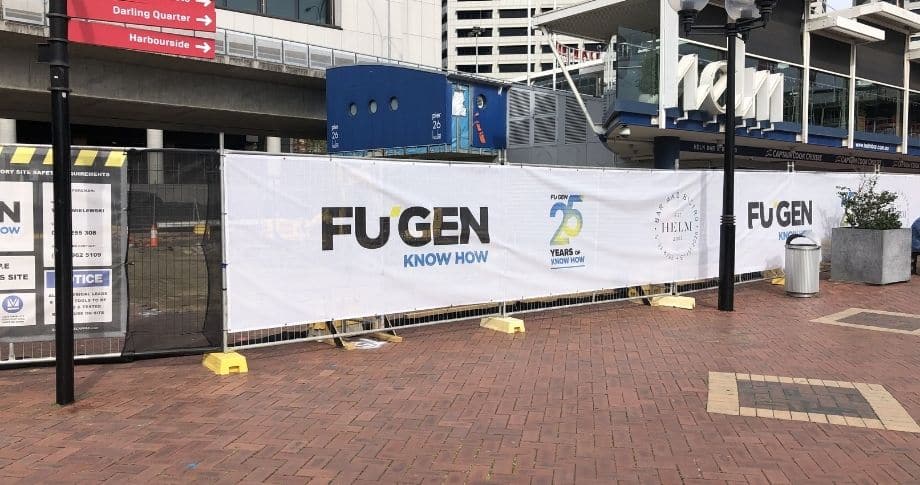
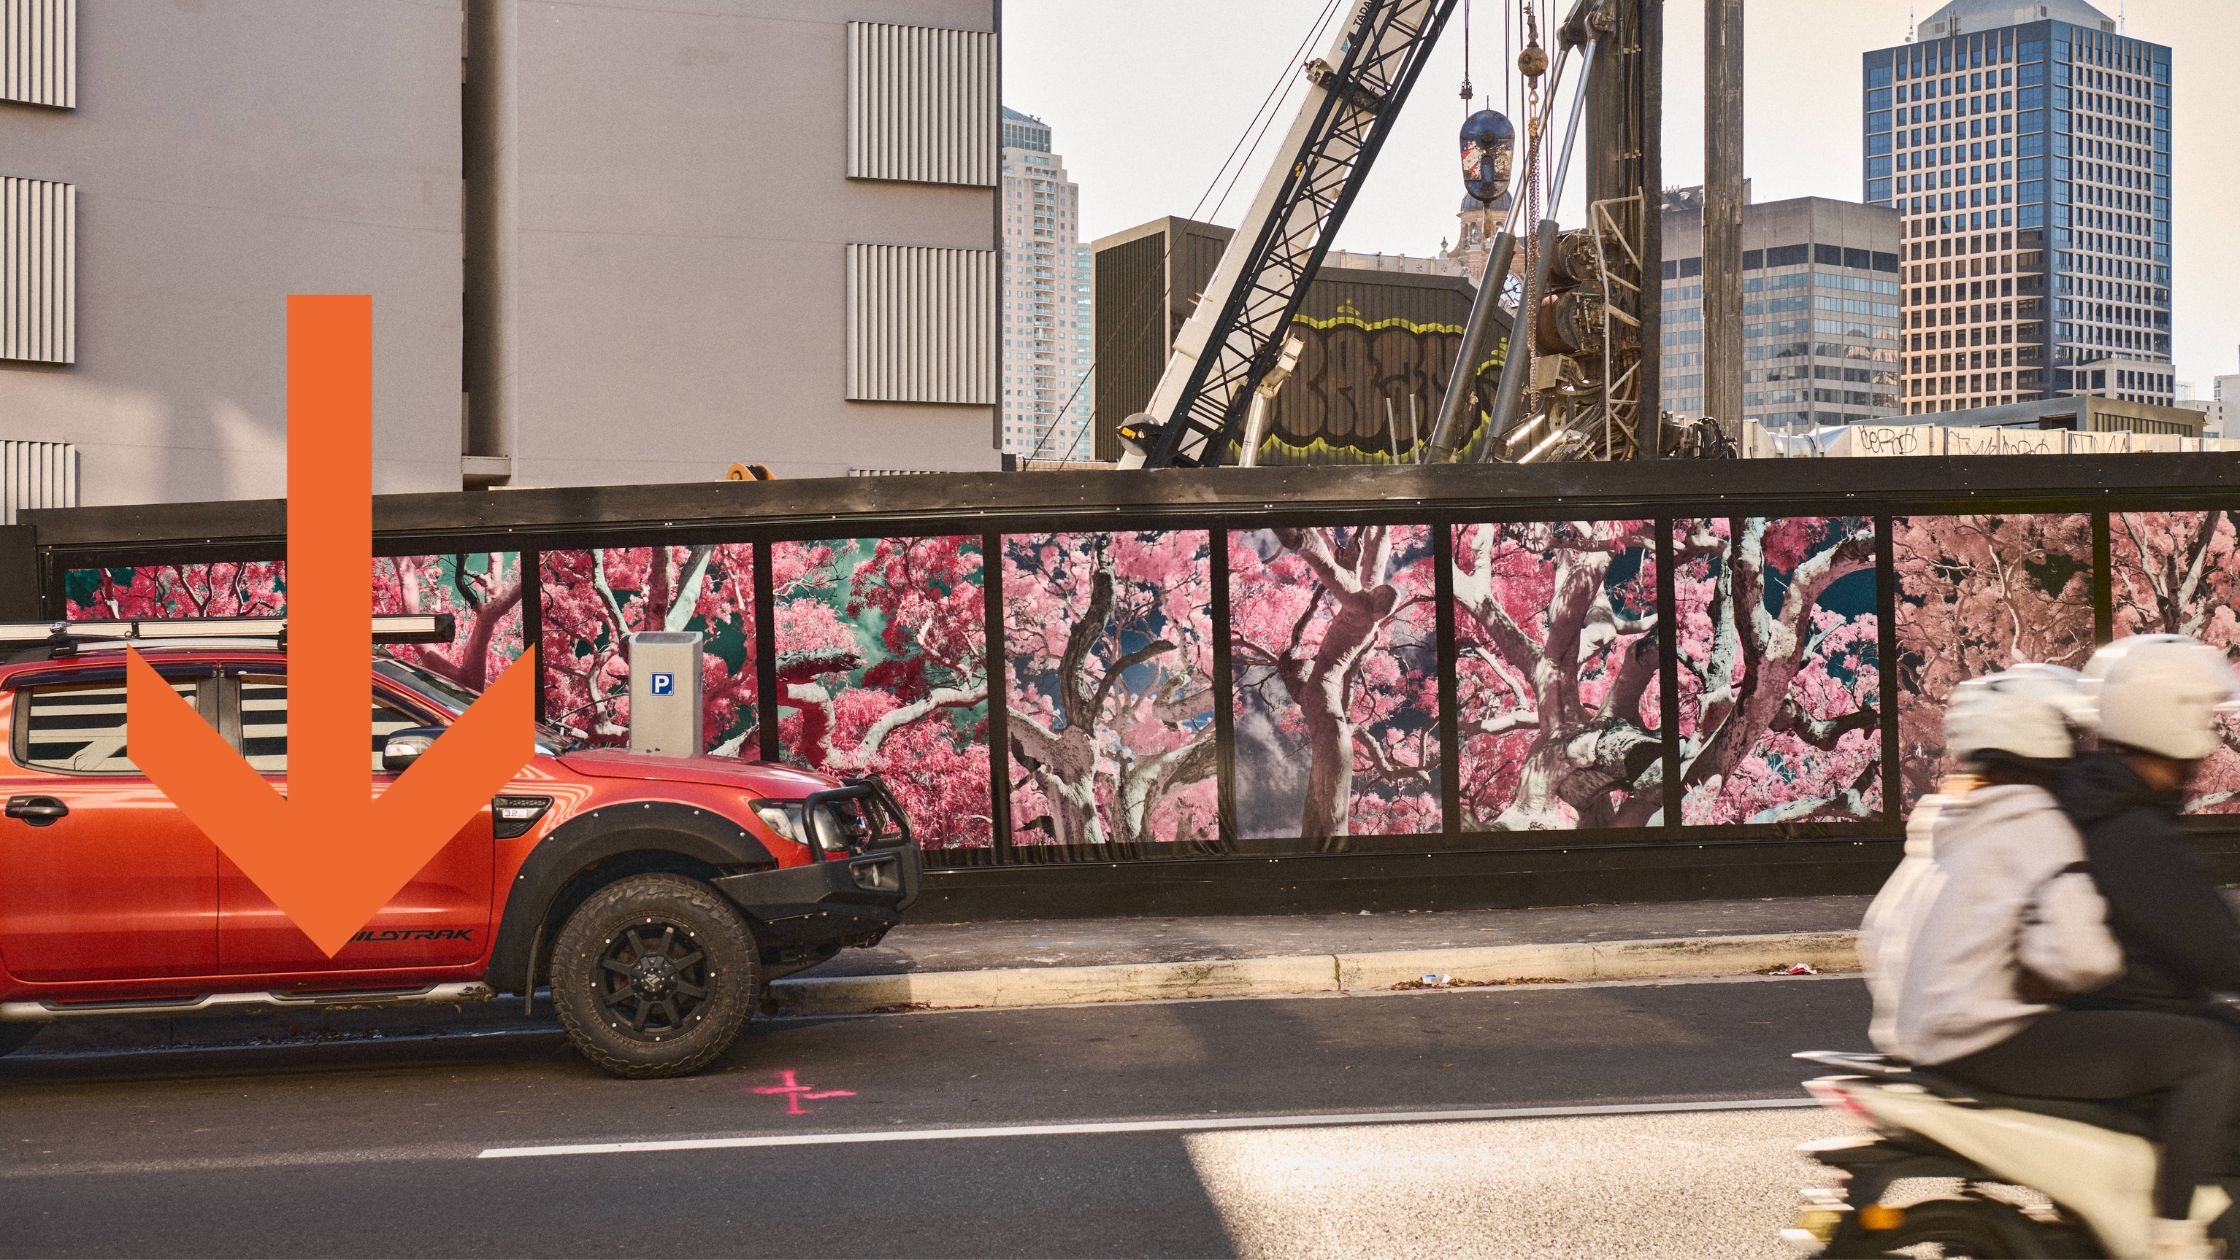
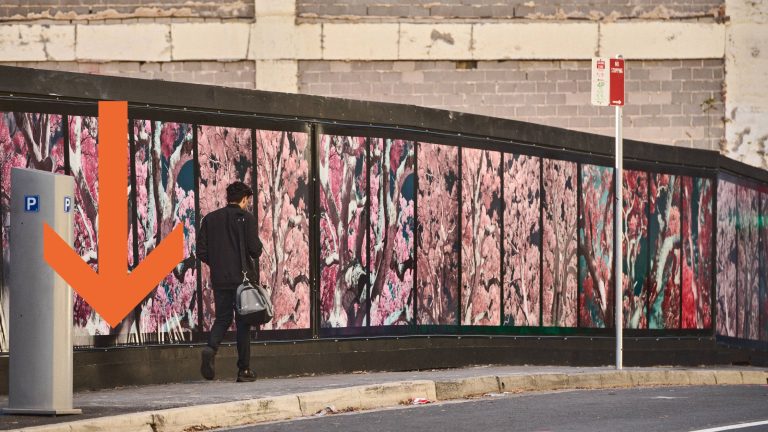
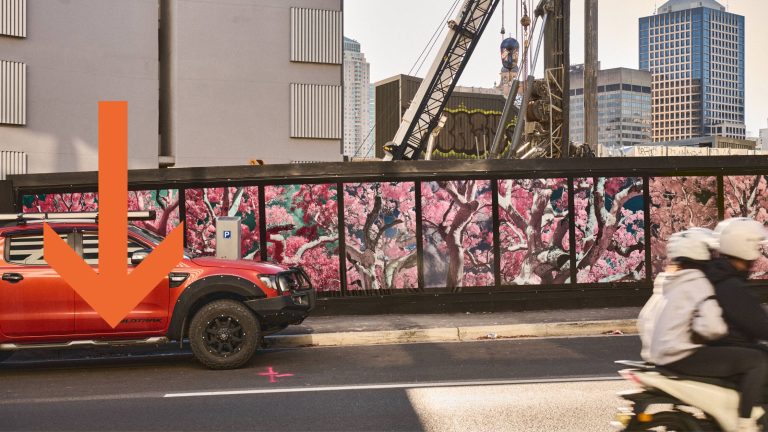
The process of installing your freshly unrolled banner to a fence is actually very straightforward. The main thing to keep in mind is that the overall tension in the mesh is what will make the banner look its best for the longest time. Untensioned or ‘saggy’ mesh both makes it look unprofessional and will cause your mesh banner to have a shorter lifespan in most cases. It’s best to have at least two people installing the banner for best results and of course, try and choose a day with mild weather conditions.
The best way to start your installation is to unpackage the banner next to the point you’d like to start on the fence. Have another person help at this first stage to support the mesh while you unroll it across the fence and fix it as you go along with cable ties on the top and then come back after it’s fully mounted along the top and then attach cable ties to the bottom as well. Doing it this way ensures that it’s tight and evenly attached with cable ties along the length of the banner by utilising the pre-attached eyelets.
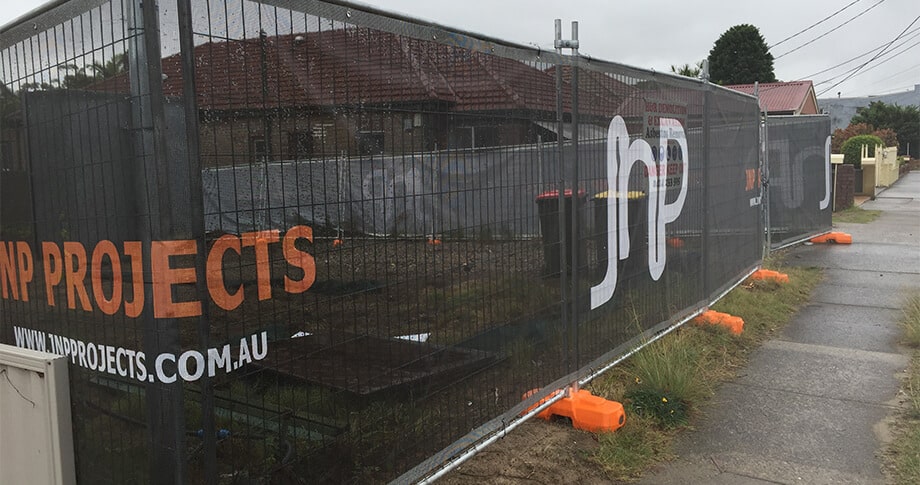
Making sure you have the correct size mesh is also important in making sure the mesh looks neat and tidy. In most outdoor situations, it is preferable to have your banner not touching the ground, meaning that you should allow some breathing room for your banner by leaving some excess fence at the bottom – this just ensures that the banner doesn’t crumble or get caught on things that are on the ground. The same goes for the top and sides as well, you want it looking tight and not like it’s too big, so make sure you get the correct measurements for your fence.
Your new mesh could end up being in place for well over a year and in these cases, the fabric will of course naturally stretch due to the elements and therefore causing the fabric to sag. We recommend in these specific cases to maintain your mesh a little bit by adding additional cable ties or even taking the mesh down and repositioning it so that it is given that ideal new and fresh appearance with no sag.
Keep up to date with Mesh Direct’s projects here.