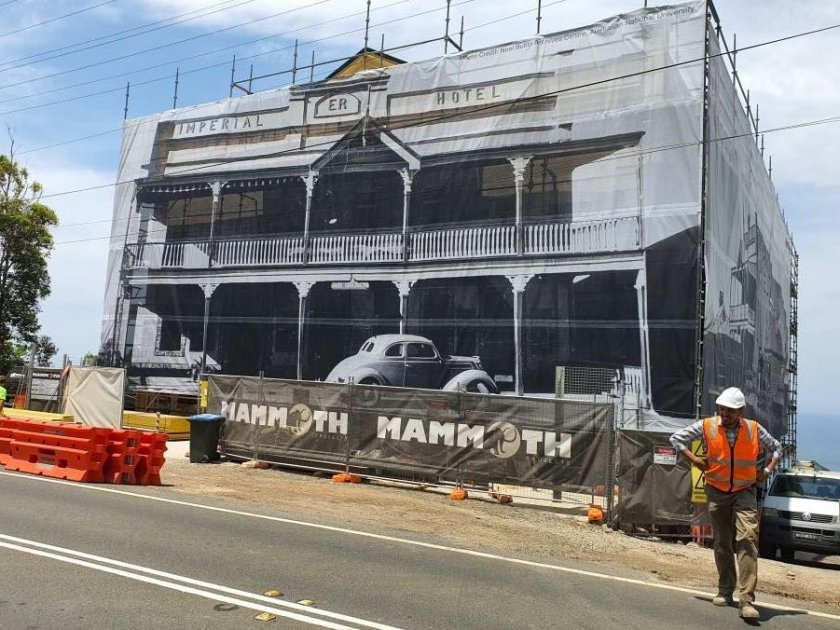
Installation methods for getting your banner noticed
 09 May 2018
 4 mins read
Designing and printing the perfect banner, whether that be in the form of banner mesh, shade cloth or vinyl is one thing, but installign your banner correctly is another. Once you receive your printed banner, it is vital that you are aware of how it should be installed so that your branding is displayed perfectly and your banner’s lifespan is increased. We break down the common installation methods you can use for your printed banner so you can select the one that’s ideal for your branding.
Stretch your banner between two fence posts
This is a common installation method for mesh banners in short-term applications. The first step is to ensure that the posts, preferably star pickets, are tall enough for the mesh banner. You should allow for the post to be driven into the ground at least 300mm of the wind load otherwise the banner may pull out of the ground. Position the poles slightly outside the width of the banner, for example if your banner is 2000mm long then your poles should be positioned 2200mm apart. Ideally use cable ties threaded through the holes of the pickets and use them as a ratchet to tighten the banner. If you plan to trim the cable tie, leave a tab long enough to re-tension as the banner will shift over time and loosen. You could also use bungee cords or ties for this method, although they are more expensive and not as effective as cable ties. Rope is another attachment measure although this is the least preferable method.
Install banners directly on a wire fence
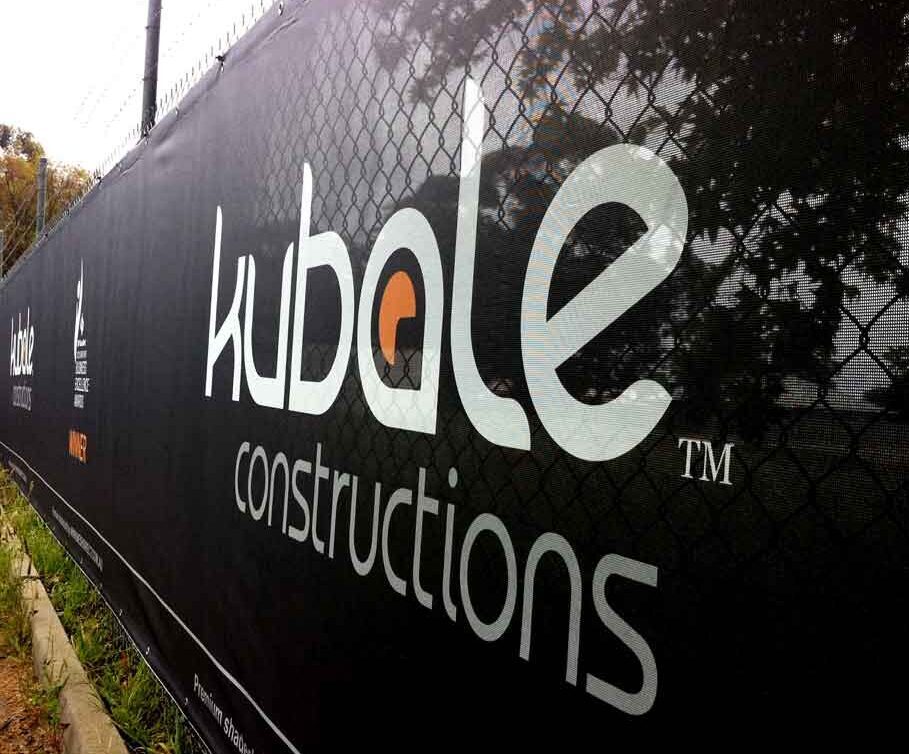
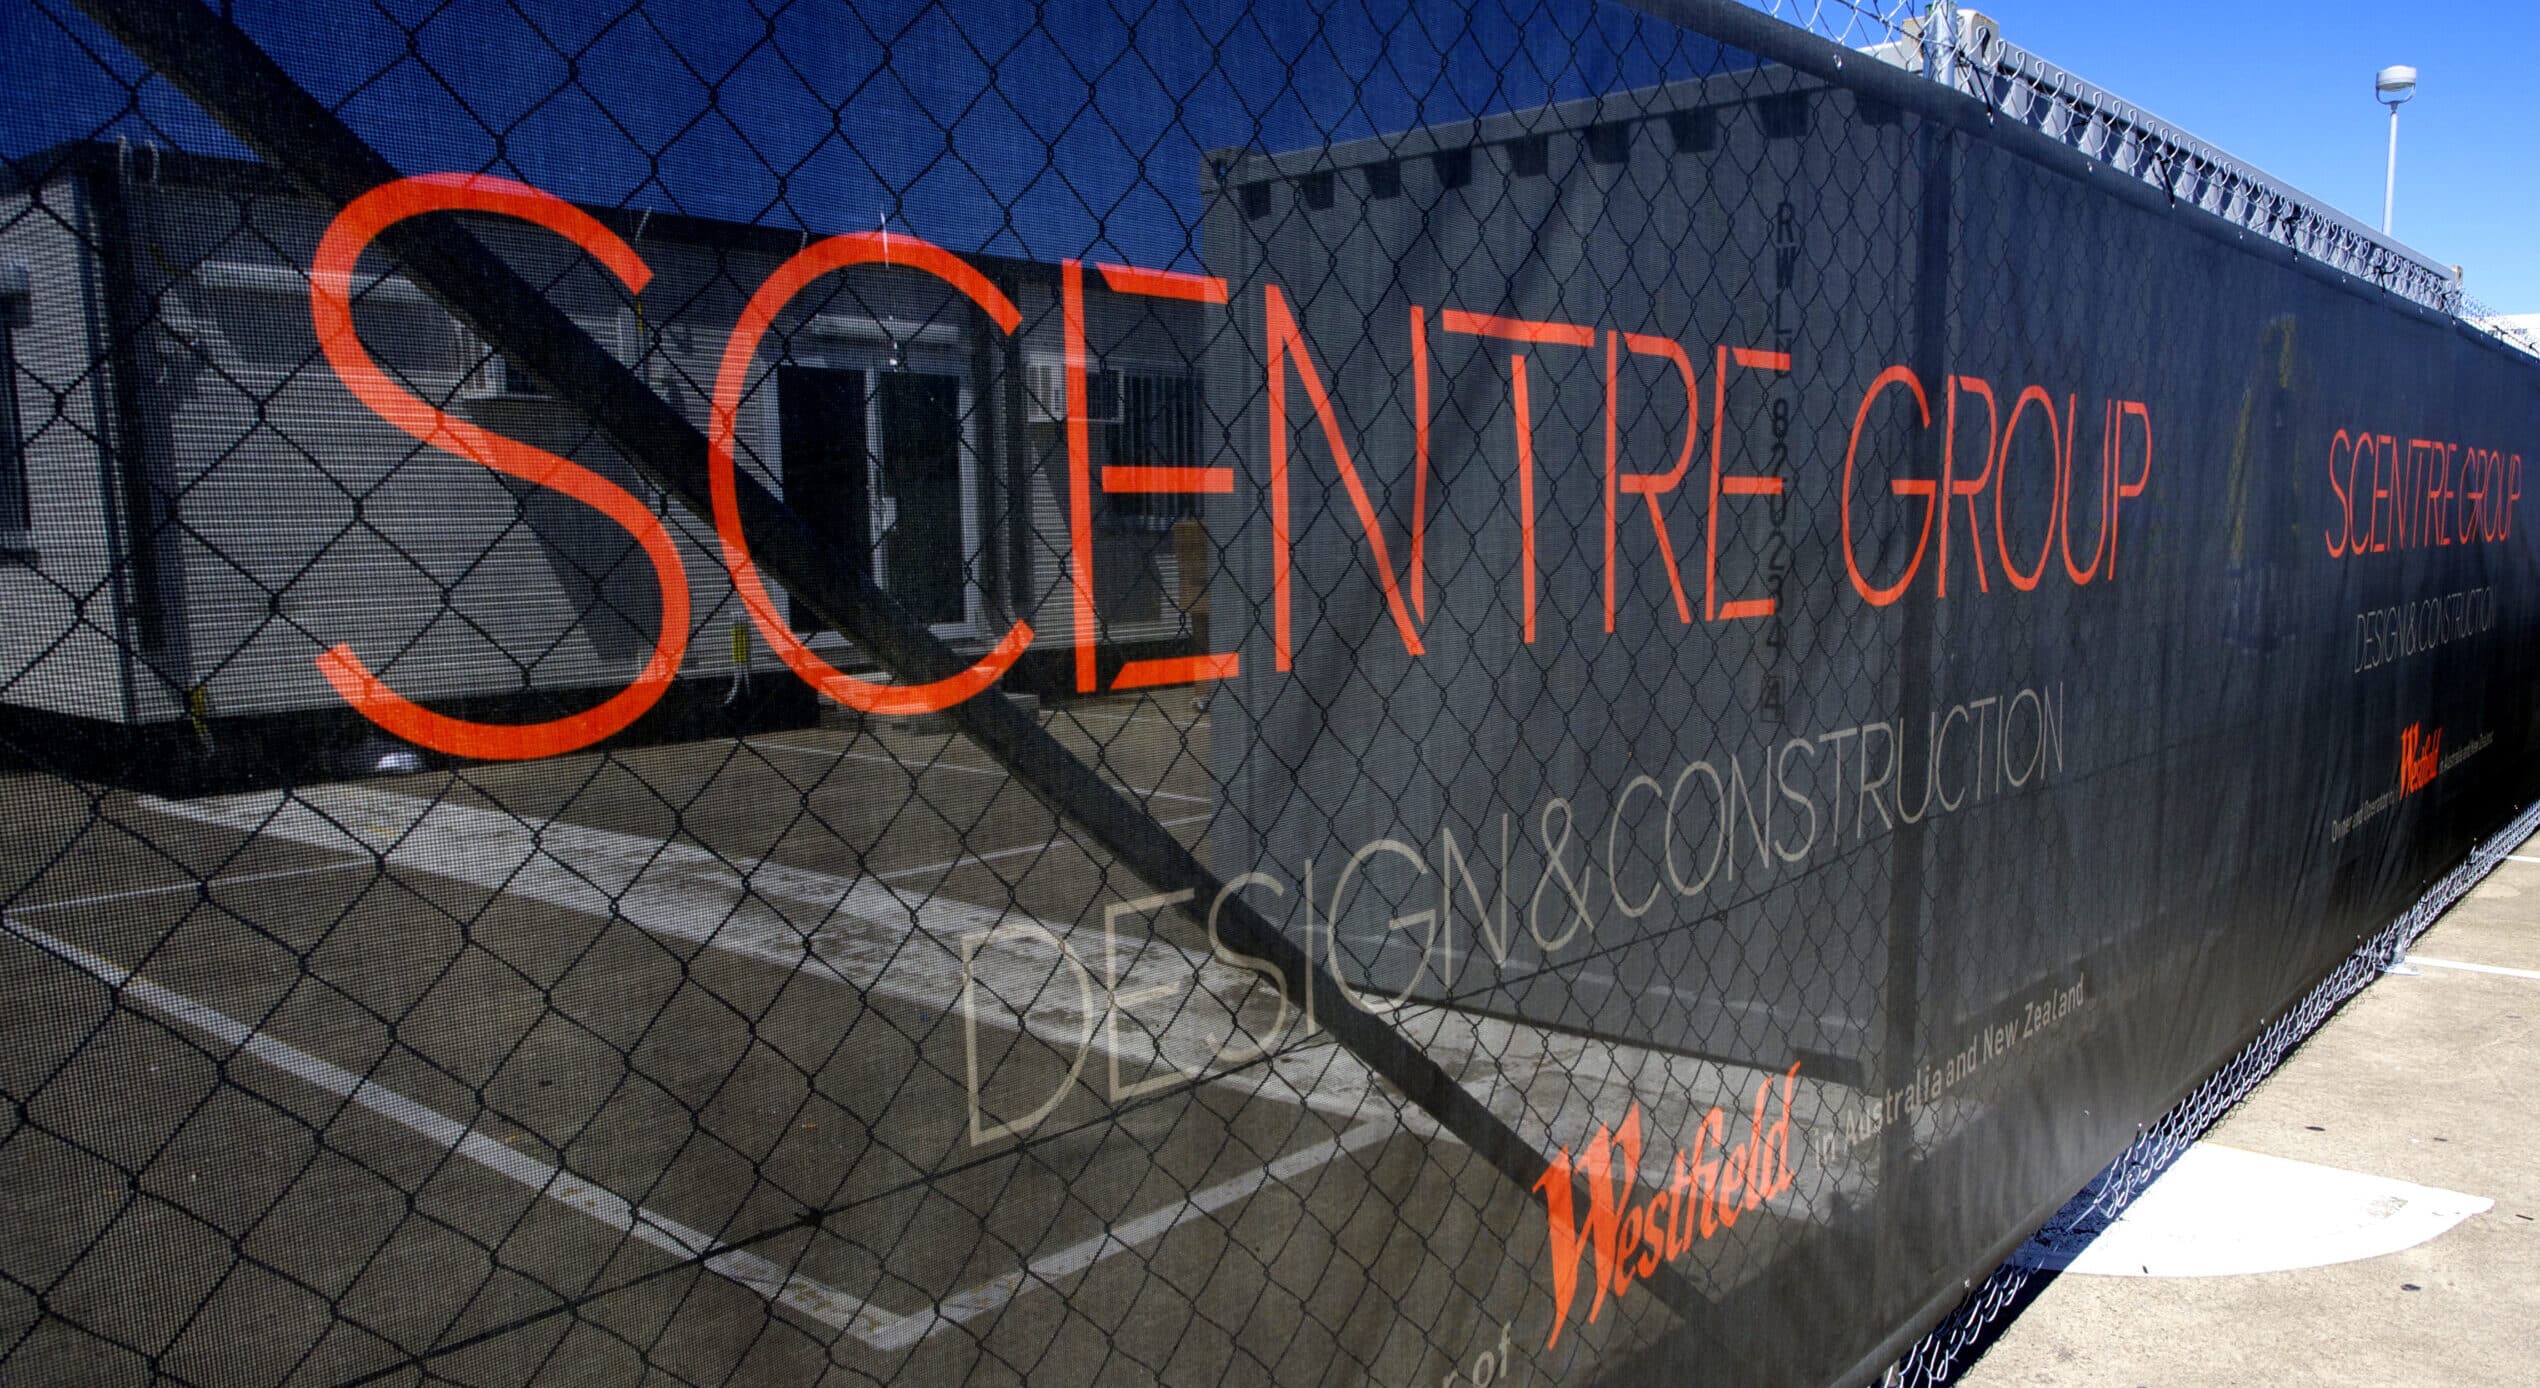
Most installations for banner mesh, shade cloth or even small vinyl banners occur on temporary or permanent fences. Ensuring that the banner is shorter than the fence is vital to a good fit. At Mesh Direct 95% of the banner mesh we sell is 1.6m for the simple reason that it fits most fences with room for tensioning.
When installing banner mesh it is best to try to attach the most solid points. This will be the posts on permanent fencing, and the top rail on temporary fencing. It is absolutely vital that all eyelets are held down with cable ties that are at least 7mm wide. This helps to disperse the wind loads evenly. If all the eyelets are not used it can place way too much strain on an eyelet result in it tearing through the mesh. In the best case this will cause the mesh to flog and crack, in the worst it will create a domino effect and large runs of eyelets will pop. Be careful not to over-tension the banners, as this will cause creases and may create undue stress on the eyelets.
Shade cloth is also installed using cable ties. It comes with built in button hole style eyelets. Shade cloth is often taller than the temporary fencing it is going on, so we recommend putting the cable tie through the buttonhole eyelet and then piercing the shade cloth lower down before inserting the cable through that hole. This results in a greater surface area being used which considerably strengthens the attachment area. If the shade cloth is too large for temporary fencing if can be wrapped around the top and bottom poles until it sits taut.
Installing banners on to timber fence or hoarding
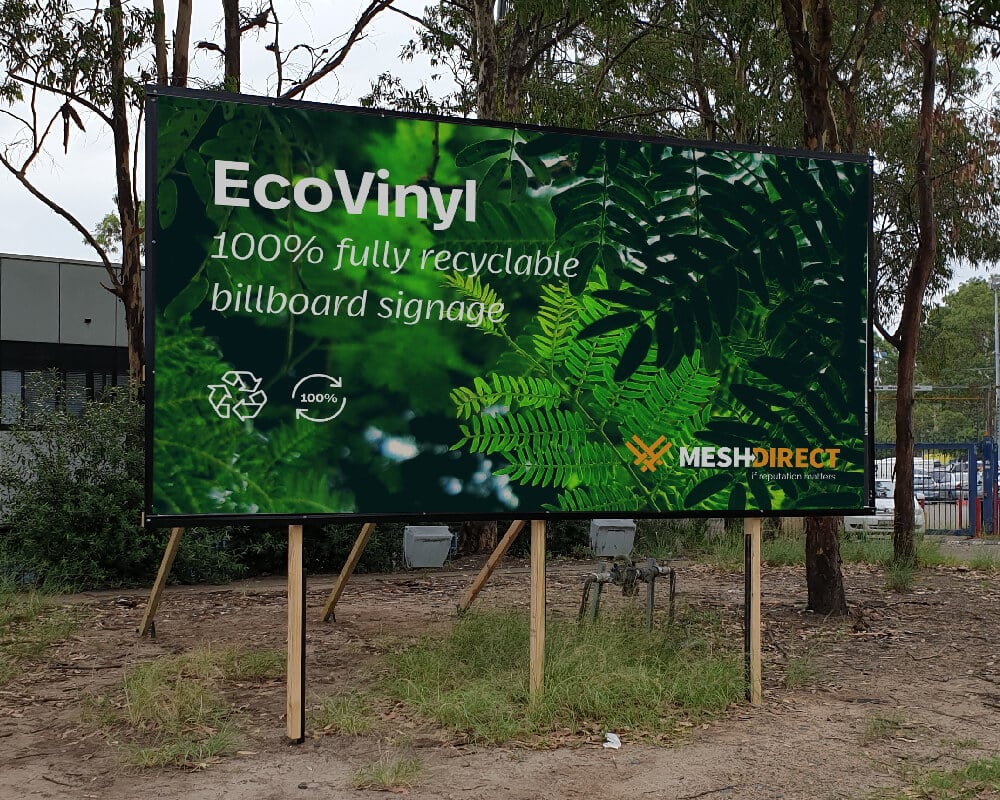
This installation method requires the banner to be fastened into the structure using screws and flat washers through the eyelets. Using a drill driver it is a very easy installation method. The most difficult part is keeping an even tension. We recommend hex head tek screws and large flat washers. This method can be used for banner mesh or vinyl banners but it not recommended for shade cloth. Shade cloth would need to be installed using timber batten to hold down the edges.
If you have any questions about the right product for your application or need some advice to install your banners, give us a call on 1300 368 978.
